Understanding Diecast Metal and Its Common Issues
Diecast metal, a popular material for creating intricate models, toys, and collectibles, is prized for its durability and ability to capture fine details. However, despite its robustness, diecast metal is susceptible to damage over time. Whether from accidental drops, exposure to the elements, or general wear and tear, knowing how to fix diecast metal is a valuable skill for any enthusiast. This guide will walk you through the process of repairing and restoring your cherished diecast items, ensuring they remain in pristine condition for years to come. Understanding the composition and common issues is the first step towards successful restoration. Learning the fundamentals of diecast repair can save you money and bring immense satisfaction.
What is Diecast Metal?
Diecast metal typically refers to alloys of metals, primarily zinc, aluminum, and magnesium, that are formed under high pressure in reusable molds. This process allows for the creation of detailed and complex shapes, making it ideal for replicating realistic features in scale models such as cars, planes, and figurines. The alloys used offer a balance of strength, weight, and affordability, which has contributed to the popularity of diecast items among collectors and hobbyists around the world. The durability of diecast metal also makes it a preferred choice over plastic alternatives. Diecast metal models are not only beautiful but also relatively tough, however they are still prone to damage.
Common Problems with Diecast Metal

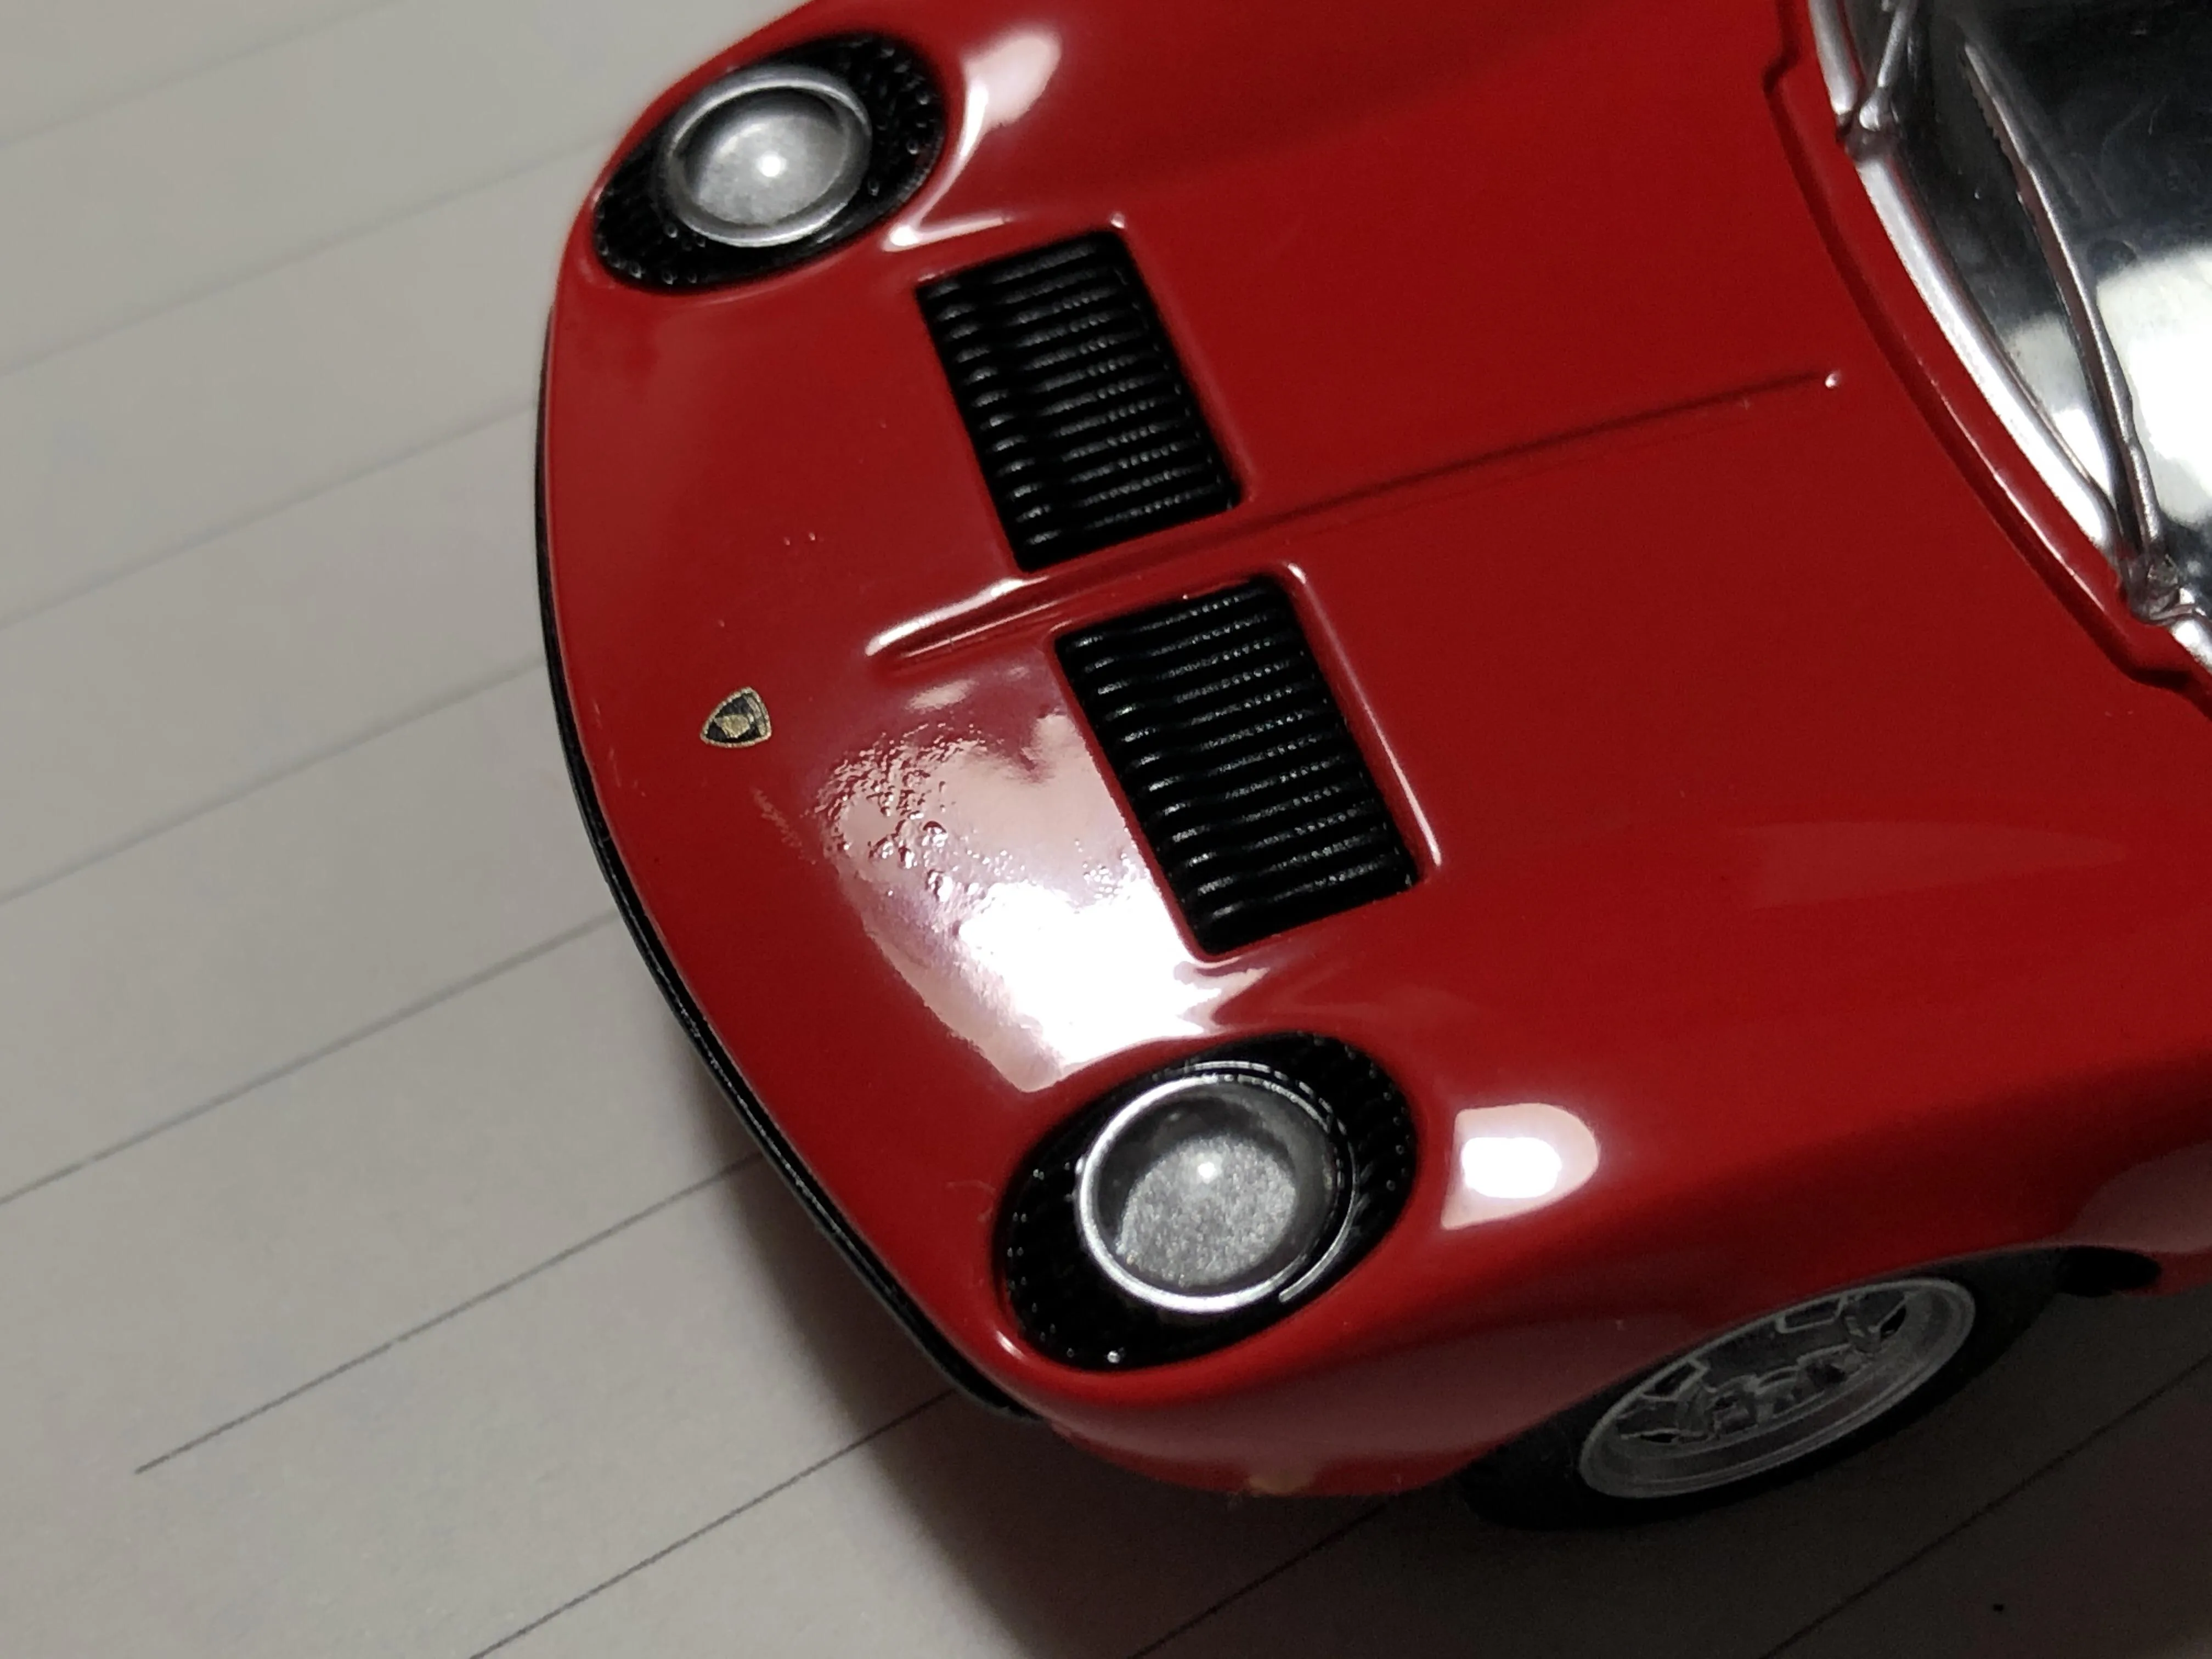
Diecast metal items are susceptible to several types of damage, from minor cosmetic issues to more serious structural problems. Common issues include paint chipping or flaking, often caused by impacts or age. Cracks and breaks can occur from drops or stresses. Corrosion, in the form of rust or oxidation, can develop due to exposure to moisture or improper storage. Furthermore, the metal can experience swelling or warping due to temperature fluctuations. Recognizing these potential problems will help you select the right repair techniques and materials. Addressing these issues promptly can prevent further damage and preserve the value and appearance of your diecast collection. Regular inspection can help to catch and fix diecast metal issues before they get worse.
Tools and Materials You’ll Need
Before you begin the diecast metal repair process, gather the necessary tools and materials. Having everything ready will make the repair process smoother and more efficient. The specific items required will depend on the type and extent of the damage, but some essential items will be needed in most cases. Investing in quality tools and materials ensures better results and a longer lifespan for your restored diecast models.
Essential Tools for Diecast Repair
Several tools are crucial for effective diecast metal repairs. A set of small screwdrivers, including Phillips head and flathead, is essential for disassembling and reassembling models. Needle-nose pliers and tweezers are helpful for handling small parts and bending metal. A hobby knife or X-Acto knife will be necessary for precise cutting and trimming. Sandpaper in various grits (fine, medium, coarse) is needed for surface preparation and smoothing. A small file can be useful for removing imperfections. Additionally, a work surface, such as a cutting mat or protected table, is important to protect your work area. Having these tools on hand prepares you to handle any issue.
Materials for Fixing Diecast Metal

The right materials will ensure a durable and visually appealing repair. Model-specific paints and primers, matching the original colors as closely as possible, are critical for restoring the finish. Epoxy or super glue is useful for bonding broken parts. Fillers, such as automotive body filler or modeling putty, can be used to fill gaps or imperfections. Thinners or solvents for cleaning and thinning paint will also be needed. For corrosion, rust removers and metal polish are beneficial. Finally, a clear coat sealant can protect the finished repair. Selecting the right products makes a world of difference when fixing diecast metal.
Step-by-Step Guide to Repairing Diecast Metal
With your tools and materials ready, you can begin the repair process. This step-by-step guide will help you through the stages. Always work in a well-ventilated area. The steps cover cleaning, repairing, filling, painting and protecting your models.
Cleaning and Preparing the Diecast Metal
Proper preparation is critical for the successful repair of diecast metal. Begin by thoroughly cleaning the damaged area using a mild soap and water solution to remove dirt, grease, and debris. Dry the area completely. Use a rust remover if there is any corrosion. Next, use sandpaper to gently remove any loose paint, rust, or imperfections. Start with a coarser grit and gradually move to finer grits for a smooth surface. The goal is to create a clean surface that allows the repair materials to adhere properly. This stage ensures the best results.
Repairing Cracks and Breaks

For cracks and breaks, use a strong adhesive like epoxy or super glue specifically formulated for metal. Clean the broken edges thoroughly and apply the adhesive. Carefully align the broken pieces and hold them together firmly until the glue sets. For larger breaks, you might need to use clamps or tape to secure the pieces. Once the glue has fully cured, you can use sandpaper to smooth out any excess adhesive or uneven surfaces. This is a critical step in restoring the structural integrity of the model. Allow sufficient time for the adhesive to cure completely before moving to the next step.
Filling Gaps and Imperfections
Use filler to address any gaps or imperfections after the initial repairs. Apply a small amount of filler to the damaged area using a spatula or tool. Carefully smooth the filler to match the surrounding surface contours. Allow the filler to fully dry or cure according to the manufacturer’s instructions. Once dry, use sandpaper to sand down the filler until it is flush with the surrounding surface. This step helps to create a smooth surface. Multiple layers of filler may be required to achieve the desired result. Pay attention to details during the filling process.
Restoring Surfaces
After filling and sanding, it’s time to restore the original surfaces. If there’s a lot of paint damage, you can strip away the old paint using a paint stripper specifically designed for metal surfaces. Be sure to follow the manufacturer’s instructions and wear appropriate safety gear. Once the surface is clean, you can apply a primer to ensure the paint adheres properly. Sand the primer lightly before painting. This step will provide a strong foundation for the final paint and finish. This provides the base for painting and ensures a high-quality, long-lasting finish. This step is vital in preparing for the final coat.
Painting and Finishing Touches

Painting is the final step in restoring your diecast metal item. This is where the item is brought back to its original glory. The process involves choosing the correct paint, applying it carefully, and protecting the finished repair. Paying attention to these details ensures a professional-looking result.
Choosing the Right Paint
The choice of paint is critical for a successful restoration. You’ll want to match the original paint color as closely as possible. If you have the original paint color, consider taking a sample to a paint store for color matching. Acrylic paints are popular for diecast models due to their ease of use and quick drying times. Enamel paints offer a durable finish and are often used for their resistance to chipping and wear. Consider using a spray gun for a more professional finish or use a brush for smaller areas. Choosing the right paint ensures a seamless restoration.
Applying the Paint
Apply the paint in thin, even coats. Several thin coats are better than one thick coat, as this helps prevent runs and drips. Allow each coat to dry completely before applying the next coat. Use a small brush for intricate details and a spray gun for larger areas. Maintain a consistent distance from the surface. Once the paint has completely dried, inspect the finish for any imperfections. If needed, you can lightly sand the surface and apply an additional coat of paint. Allow it to dry and ensure a durable, flawless finish.
Protecting and Preserving Your Repair

Once the paint is dry, apply a clear coat sealant to protect the painted surface and provide a durable, glossy finish. This sealant helps to prevent scratches and fading. The sealant also adds an extra layer of protection against environmental factors. Allow the clear coat to cure fully before handling the repaired item. Proper storage is critical to keep your repaired diecast metal items in good condition. Store your models in a dry, dust-free environment away from direct sunlight and extreme temperatures. Regular maintenance, such as dusting and occasional polishing, will help preserve their appearance. By following these steps, your repaired diecast metal items will stay in great shape.