Corgi Diecast Tyres Repair Overview
Corgi diecast cars, beloved by collectors and enthusiasts, are cherished for their intricate details and historical significance. However, like any vintage item, these miniature vehicles require maintenance and occasional repair. One of the most common issues affecting Corgi cars is the deterioration of their tyres. Over time, the original rubber tyres can crack, dry out, or even disintegrate, diminishing the car’s aesthetic appeal and functionality. This comprehensive guide provides a detailed, step-by-step approach to repairing and restoring your Corgi diecast car’s tyres, ensuring that your treasured collection remains in pristine condition for years to come. Understanding the problem and the methods of repair is the first step in bringing back the original appeal and value to your diecast cars.
Identifying Corgi Diecast Tyre Issues
Before you begin any repair work, it’s essential to accurately assess the condition of your Corgi diecast tyres. This involves a careful inspection to identify the specific problems you’re dealing with, which will inform your repair strategy. Common tyre issues can range from minor cracking to complete disintegration. Early detection can prevent further damage to the car and potentially simplify the repair process. Knowing the signs will help you preserve the beauty of your classic Corgi cars and keep them rolling smoothly. Regular checks are key to catching problems early and preventing major issues down the road.
Common Signs of Tyre Damage

Several visible signs indicate that your Corgi diecast tyres need attention. Cracking is one of the most common, often appearing as small lines on the tyre’s surface. These cracks can worsen over time, leading to chunks of rubber breaking away. Another sign is dryness; the rubber might feel brittle and lose its elasticity. Deformation, where the tyre is no longer round or has flat spots, is also a concern. Additionally, look for sticky residue, which can be a sign of the rubber breaking down. Finally, check for missing pieces or complete disintegration, where the tyre is missing sections or has completely crumbled. These are clear indicators that repairs or replacements are necessary to maintain the car’s appearance and functionality.
Types of Corgi Diecast Tyre Problems
Tyre problems can vary in severity and type. Cracking and splitting are common issues caused by age, exposure to heat, and UV light. Dry rot is another prevalent problem, where the rubber loses its essential oils, becoming brittle and prone to crumbling. Flat spots can develop if the car sits in one position for an extended period, compressing the tyres. Discoloration, such as fading or yellowing, is often a cosmetic issue, but it can also indicate material degradation. Complete disintegration is the most severe, where the tyres have broken down entirely, leaving the car unable to roll. Identifying the specific type of problem will guide you in choosing the appropriate repair method.
Tools & Materials Needed
Having the right tools and materials is crucial for successful Corgi diecast tyre repair. Before you start, gather all the necessary items to ensure a smooth and efficient process. This will help you avoid interruptions and ensure you have everything you need at hand. From basic tools to specialized materials, each item plays a vital role in restoring your Corgi car’s tyres to their original condition. Properly preparing your workspace and materials will contribute significantly to the quality of the repair. Ensuring you have everything ready can make the repair process much more manageable and rewarding.
Essential Tools for Corgi Tyre Repair

Several essential tools are needed for effectively repairing Corgi diecast tyres. A small, sharp craft knife or hobby knife is essential for removing old tyres and trimming new ones. Tweezers are invaluable for handling small parts and delicate tasks. A set of small screwdrivers, both flathead and Phillips head, will be necessary for disassembling and reassembling the car. Fine-grit sandpaper is useful for cleaning and preparing the wheel rims. A magnifying glass can help with close-up work and detailed inspections. Additionally, a soft brush is useful for cleaning the car and removing any debris. Having these tools ready will make the repair process much easier.
Best Materials for Corgi Diecast Tyres
Choosing the right materials is critical to a successful Corgi diecast tyre repair. Replacement tyres are readily available from various hobby shops and online retailers, and it is important to select tyres that are the correct size and style for your specific Corgi model. Super glue or model glue is needed for securing tyres if they are not a perfect fit or need extra reinforcement. Lubricants, such as silicone grease, can help with tyre installation and prevent cracking. When possible, use high-quality, age-resistant materials that will last. Consider using a UV protectant spray to prevent future damage from sunlight and keep the tyres looking their best for longer.
Step-by-Step Corgi Diecast Tyre Repair
The repair process involves several key steps to restore the tyres. Proper execution of each step ensures the best results and preserves the car’s value. This process will guide you through each stage, from removing old tyres to installing new ones. Following these steps carefully will help you achieve a professional-looking repair. By taking your time and paying attention to detail, you can successfully restore your Corgi diecast cars to their former glory.
Removing the Old Tyre

Carefully remove the old tyres. Using a craft knife, gently slice along the inside edge of the tyre, being careful not to damage the wheel rim. Work your way around the tyre, making small cuts until the tyre can be peeled away. If the tyre is particularly stubborn, you may need to use a small screwdriver or a similar tool to pry it off. Take your time and avoid applying too much force to prevent damaging the wheels. Once the old tyre is completely removed, thoroughly clean the wheel rim to remove any remaining rubber or debris. A clean rim is essential for a good fit with the new tyre.
Preparing the Wheel for the New Tyre
Before installing the new tyre, prepare the wheel. Inspect the wheel for any damage, such as dents or bends, which could affect the tyre fit. Use fine-grit sandpaper to gently clean the rim and remove any remaining residue from the old tyre. Ensure that the rim is completely clean and smooth to provide a good surface for the new tyre. If necessary, use a small amount of lubricant, such as silicone grease, on the rim to help the new tyre slide on more easily. A well-prepared wheel ensures the new tyre fits snugly and functions properly.
Installing the New Corgi Tyre
Carefully install the new tyre onto the wheel. Start by aligning one side of the tyre with the wheel rim. Using your fingers, carefully stretch the tyre over the rim, working your way around the wheel. Be patient, as this step may require some effort. Use a small, blunt tool if needed to assist in getting the tyre over the rim, but be careful not to damage the tyre or the wheel. Ensure the tyre sits evenly on the wheel rim. If the tyre is not a perfect fit, you may need to use a small amount of super glue or model glue to secure it. Once the tyre is in place, inspect it to make sure it is seated correctly and does not have any gaps.
Securing and Finishing Touches

After installing the new tyre, ensure it is securely in place. If you used glue, allow it to dry completely before handling the car. Check for any excess glue and carefully remove it. Inspect the wheels to ensure they spin freely and do not rub against any part of the car. If the tyres are slightly too large, you can carefully trim them with a craft knife. Once you’re satisfied with the fit and appearance, give the car a final cleaning to remove any fingerprints or debris. This last step ensures that your restored Corgi car looks its best and is ready to be displayed or enjoyed.
Troubleshooting Common Repair Issues
Even with careful preparation, you may encounter problems during the repair process. Knowing how to troubleshoot common issues can save time and frustration. This section addresses some of the most frequent challenges faced when repairing Corgi diecast tyres and provides solutions to help you overcome them. Addressing these issues will enable you to complete the restoration successfully.
Tyre Doesn’t Fit Properly
If the new tyre doesn’t fit properly, there could be a few reasons. The tyre may be the wrong size for the model. Double-check the size specifications before starting. If the tyre is too large, you might need to trim it slightly with a sharp craft knife, but be very careful not to cut too much. If the tyre is too small, it may not stay in place. In this case, consider using a small amount of glue to secure it to the rim. Make sure the wheel rim is completely clean, as any debris can prevent a proper fit. Patience and a little adjustment can often solve this problem.
Tyre Keeps Falling Off

If the tyre keeps falling off after installation, there are several potential causes and solutions. The tyre might not be seated correctly on the wheel rim, so re-examine the fit and make sure it’s fully engaged. Clean the rim again to ensure it is free of any residue that could prevent the tyre from gripping properly. If the tyre is slightly loose, a small amount of super glue or model glue can secure it to the rim. Allow the glue to dry completely before handling the car. Consider using a slightly thicker tyre if the issue persists, or if you have access to a wider profile tyre.
Preventive Maintenance Tips
Preventive maintenance can significantly extend the life of your Corgi diecast tyres and help you avoid future repairs. By taking a few simple steps, you can protect your collection from damage and ensure your cars remain in excellent condition. These tips will help you preserve the quality and value of your Corgi diecast cars for years to come.
Proper Storage of Corgi Diecast Cars
Proper storage is critical for preserving your Corgi diecast cars and their tyres. Store your cars in a cool, dry place away from direct sunlight and extreme temperatures. High heat can cause the rubber tyres to dry out and crack. Avoid storing cars in damp areas, as moisture can accelerate corrosion and damage the tyres. Consider storing your cars in display cases or individual boxes to protect them from dust and physical damage. Make sure the storage area has good air circulation. Following these storage guidelines will help protect your cars from environmental damage.
Regular Tyre Inspection

Regularly inspect your Corgi diecast tyres for signs of wear and tear. Check for cracks, dryness, and other issues at least once a year, or more frequently if the cars are frequently handled. This early detection can prevent problems from escalating. If you notice any issues, address them promptly to avoid further damage. Cleaning the tyres with a soft brush can help remove dust and debris, which can contribute to tyre deterioration. By regularly inspecting and cleaning your tyres, you can maintain your collection and keep it in top condition.
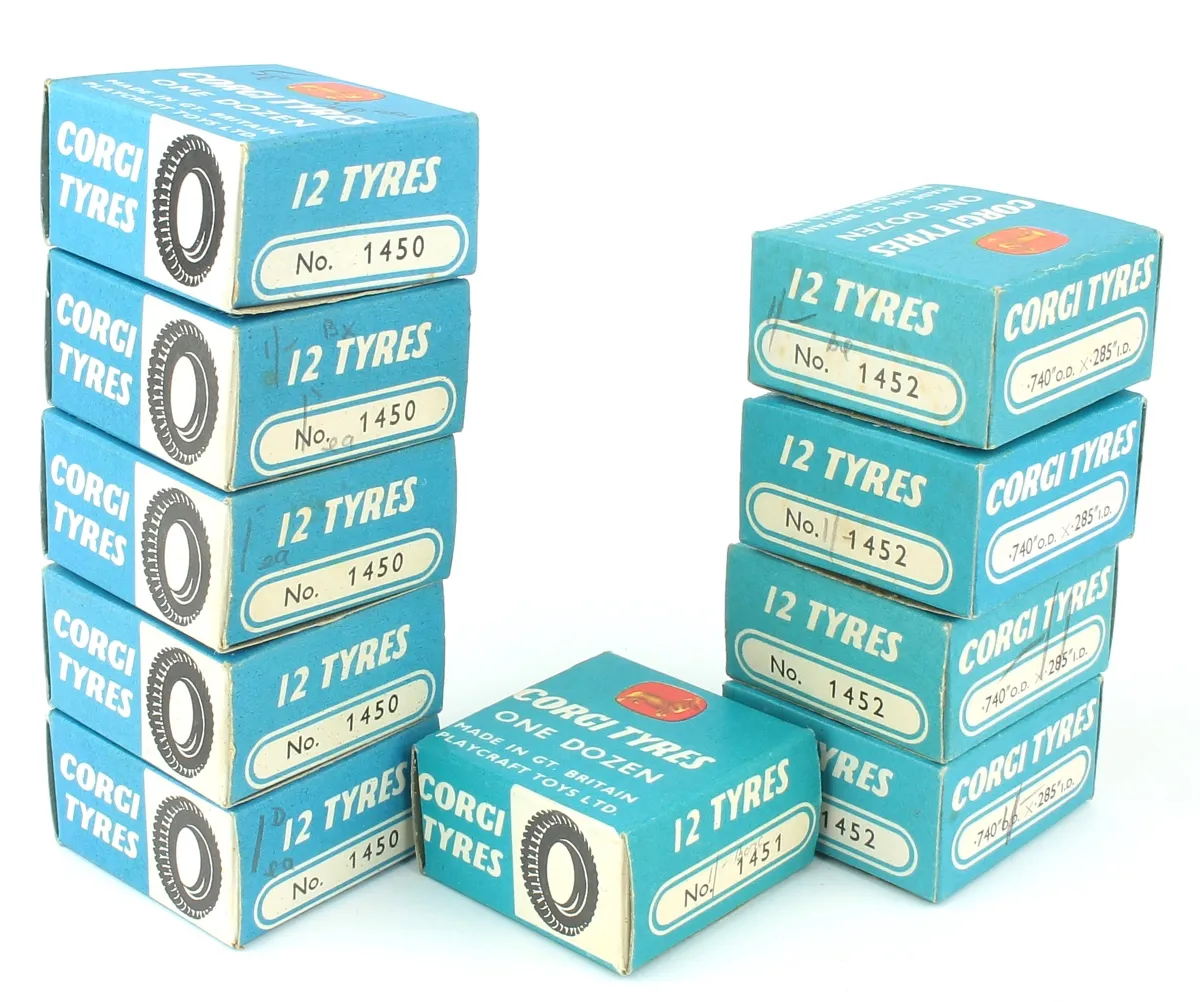
Where to Buy Corgi Diecast Tyres
Finding replacement tyres for your Corgi diecast cars is straightforward. Several online retailers specialize in model car parts, offering a wide selection of replacement tyres for various Corgi models. Hobby shops often carry these parts as well. When purchasing tyres, be sure to select the correct size and style for your specific model. Check online forums and collector groups, as they can provide valuable insights and recommendations on where to find quality replacement tyres. Before making a purchase, compare prices and read reviews to ensure you get the best product. With the right resources, you can easily find the tyres you need to restore your Corgi diecast cars.
In conclusion, repairing Corgi diecast tyres is a rewarding project that preserves the history and value of your collection. By following the steps outlined in this guide, you can restore your classic cars to their original condition and enjoy them for years to come. Remember to take your time, use the correct tools and materials, and perform regular maintenance to keep your Corgi cars in excellent shape.